Last updated on December 7th, 2023
A basic camera kit for photography is more than just a digital camera body. Nikon, Sony, Fujifilm, Canon, Olympus, and all the other camera brands require a superior arsenal of camera gear. You might be seriously considering a career in professional photography, or you might be a hobbyist. Either way, if you want to get away from taking photos on your smartphone and upgrade to a point-and-shoot camera, you’re going to need to build out your basic camera kit for photography.

You need a camera kit that goes with your photography goals. You might need an interchangeable-lens, DSLR camera, or mirrorless camera. It would be best if you had the essentials with room to add to your camera kit. It would help if you stood out from the crowd of photographers.
Follow along as you learn the basics to get yourself going with a camera kit for photography.
What are the Basic Camera Kit Must-Haves for Photographers?
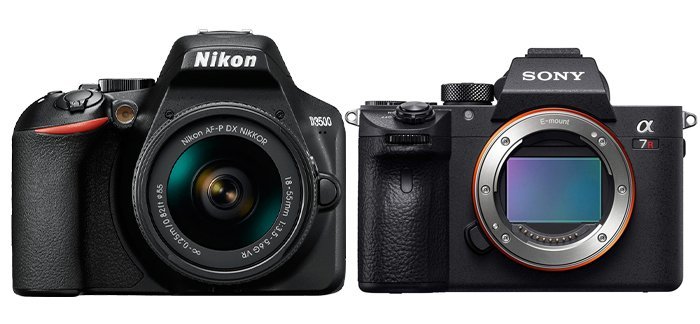
Step 1: Get a camera (DSLR camera, mirrorless camera, etc.)
It’s time to start by selecting a camera that fits you best. Try to avoid permanently affixed camera lenses for interchangeable-lens cameras. You’d probably prefer a lightweight and compact camera. A mirrorless camera (like the Canon EOS M50) is best if that’s what you’re going for. If you prefer a traditional shooting photography method, try a digital SLR camera (DSLR). While many newer cameras feature state-of-the-art LCDs and viewfinders, and more fancy features, you will be just fine with a well-received lower model with five-star reviews.
Also, think about your ideal shooting situation. Will you be shooting in low light? Is autofocus vital to you? Do you need full HD video? Do you need to share on social media via WiFi? Or an LCD touchscreen? Consider these wants or needs first before purchasing your first professional camera.
You might decide to get a full-frame camera when starting with your photography kit. For example, the Canon EOS 5D Mark II is one you can consider. The full-frame 35mm format camera’s resolution is 40 percent better than its predecessor with 21.1 megapixels.
You also get Live View, a high-res 3” LCD and full-motion HD video that includes sound. The CMOS sensor on this camera helps you get image files at the best quality and color accuracy. In this case, the smaller camera may not be in your best interest. You’re getting a good quality camera with everything you need in terms of features.
Step 2: Camera Lens
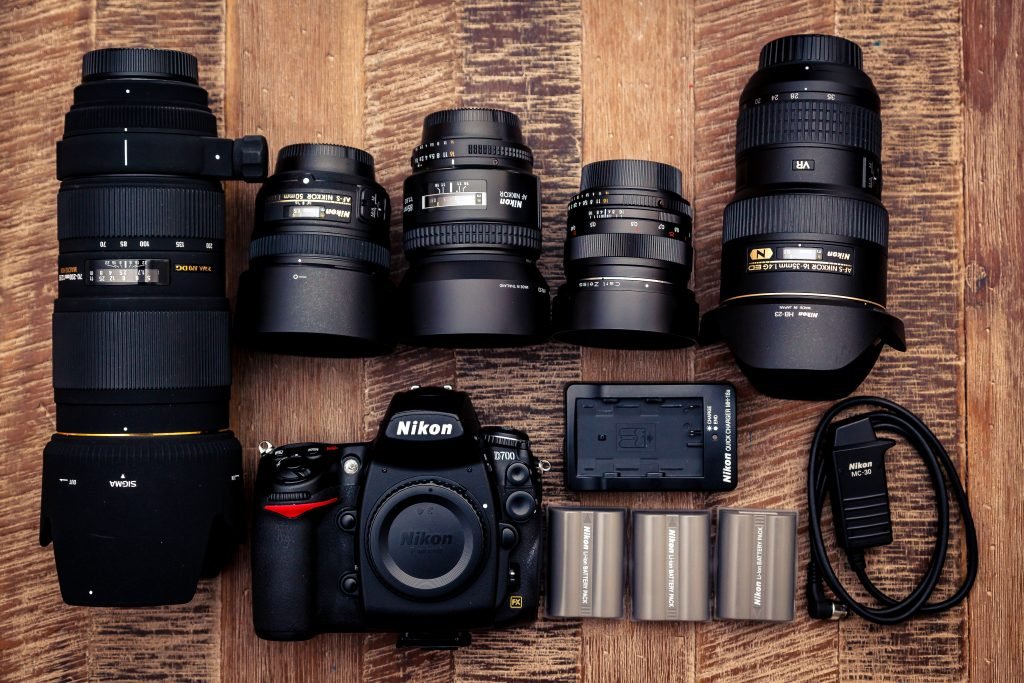
Your camera might come with a lens kit with an essential lens for precise shots. Lens kits on entry-level cameras typically are zoom lenses with a medium telephoto range of around 24-70mm or 18-55mm lens. Let’s say you go on to purchase a Canon EF-S 18-55mm f/3.5-5.6 IS II digital SLR lens or Canon Ef-m 15-45mm f/3.5-6.3 is STM lens if your Canon lens kit does not include one.
Essentially, you’ll want something versatile with higher quality. But you should also consider other essential features like compatibility with your camera body. Also, choose the most versatile if you are only going to own one lens. A 24-70mm zoom lens is a good option if you only own one lens. Additionally, if you need a wide-angle lens, consider a 35-24mm camera lens.
Step 3: Gather Memory Cards
When you take pictures on your camera, you’re going to need somewhere to store them. An SD card (known as a memory card) is essential for any basic camera kit for photography. Most of these memory cards are readily available for fast shipping on Amazon and in an assortment of sizes. When choosing a memory card, you want more significant storage. For RAW shooting, a 64 GB SD card is perfect. Try not to go smaller than a 32 GB SD card.
It’s always wise to go bigger than go home. So, if you can swing buying a 256 GB SD card, you’ll be able to hold thousands of image or video files. If you prefer to shoot video, it’s always best to have a big memory card anyway so that they’re fast enough to read and write while doing the job right.
Pro tip: make sure you purchase the most recent cards with the fastest transfer rates. Many people choose Class 10 with U3 speed ratings as a decent card. Consider purchasing multiple small cards so you have a backup in case something goes wrong.
Step 4: Check your battery and charger situation
Your camera kit likely came with a battery and charger. If it was bought secondhand and didn’t come with either, you should purchase those separately.
Step 5: Load up your camera bag
Now’s the time to get a camera bag if you don’t already have one. Camera bags are essential for carrying all your things in your camera kit. You can choose any style you like in different forms, like a shoulder bag, backpack, or sling. They even make purses for camera bags these days.
Some Upgrades of Camera Kits to Consider
Tripod
Depending on the sort of photography you’re into, you may need a tripod for your camera kit if you’re shooting studios, portraits, nature shots, and so much more. The first upgrade to make is getting a tripod. Mostly if you shoot outdoors, you want a good tripod you can fit in your bag and go adventuring with. If you shoot in a studio, you can get a sturdier and taller tripod for specific shooting situations. The head will be heavy duty so that you can shoot all day.
Telephoto Zoom Lens
A wide or a medium telephoto (24-70mm lens) might get even better by adding a telephoto zoom lens. Many photographers choose a 70-200mm or 80-200mm range. If you want seamless coverage, a telephoto zoom lens is for you. Photographers love having more than one lens in their camera kit ready to go to shoot just about everything.
Sports photographers and wildlife photographers tend to choose 300mm lenses to 400mm lenses. Though, a 70-200mm f/4 or slower lens is more cost-effective and lightweight. Faster lenses may be bulkier and costly.
Card Reader
A card reader adapter connects to your computer divide to insert your memory card and upload your pictures. Though you may be more comfortable with the adapter the camera came with, you may prefer the experience with a card reader. Most memory card readers are compatible with most formats, but be sure to double-check while purchasing. Just do be aware that there’s a connectivity difference between USB 2 and USB 3 in upload times.
Flash
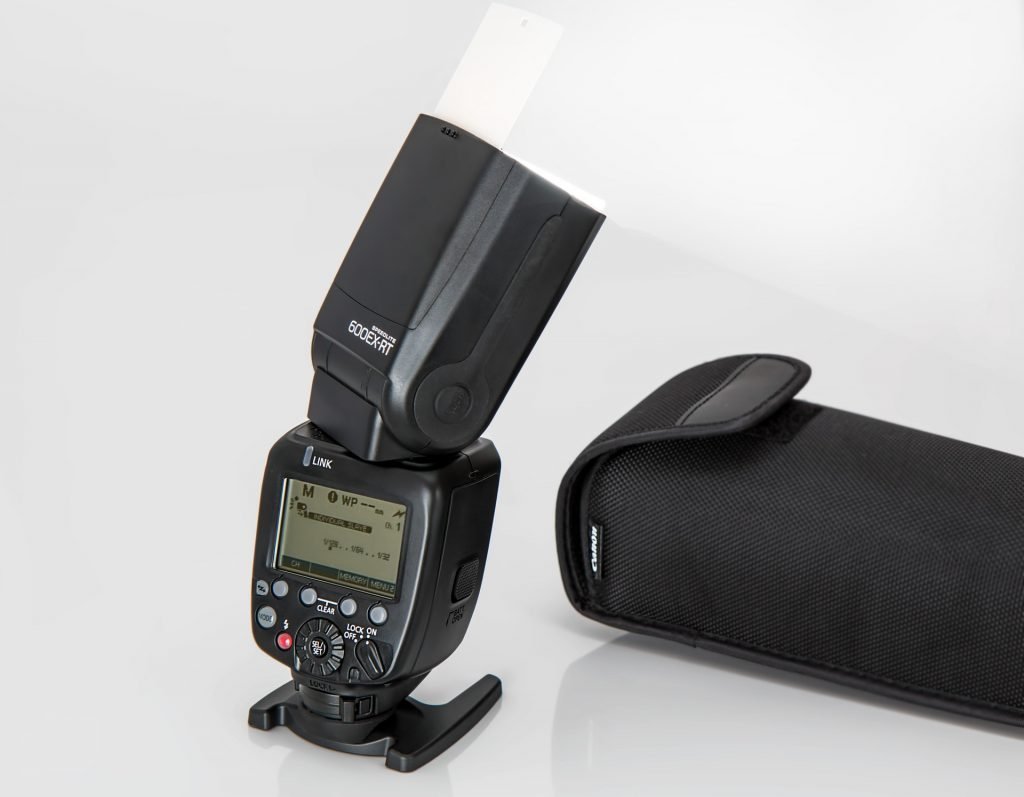
If you want to make a difference in your photography, upgrade to a hot-shoe mountable flash. For about $100 and up, you can find something that fits your budget and your camera kit needs. For a few hundred bucks, you can get a more sophisticated flash mount for your camera to take with your camera kit everywhere you go.
Reflectors
Reflectors are white and silver collapsible discs that bounce lighting and create softer light on your photography subjects. Find a collapsible reflector set that fits your shooting situations and easily fits your camera kit.
Special Additions
Variable ND filter
A neutral density (ND) filter controls the exposure of your photography shots. It reduces the amount of light going through the lens. If you want excellent results each time you take pictures, then an ND filter is a must. Even better, they’re small and can fit in any camera kit and camera bag.
Cable release
If you use your camera and tripod together for long exposures or multiple exposures, you need a steady camera. A cable release may be necessary for an upgrade from the built-in camera timer. Most cable releases come wireless as a remote. You can find a special cable release to choose multiple exposures, extra-long exposure control, and interval timing. It makes the practice of prolonged or various exposures less laborious and more time-saving so that you can focus on multiple things at once.
TTL Cable
A TTL flash cable can do metering and controls automatic exposures like a flash mounted to the camera’s hot shoe. It allows you to hold the flash away from the camera while still operating it, unlike a regular cable that only fires the flash.
Light stand, umbrella, mounting bracket, wireless transmitter, and lightbox studio set
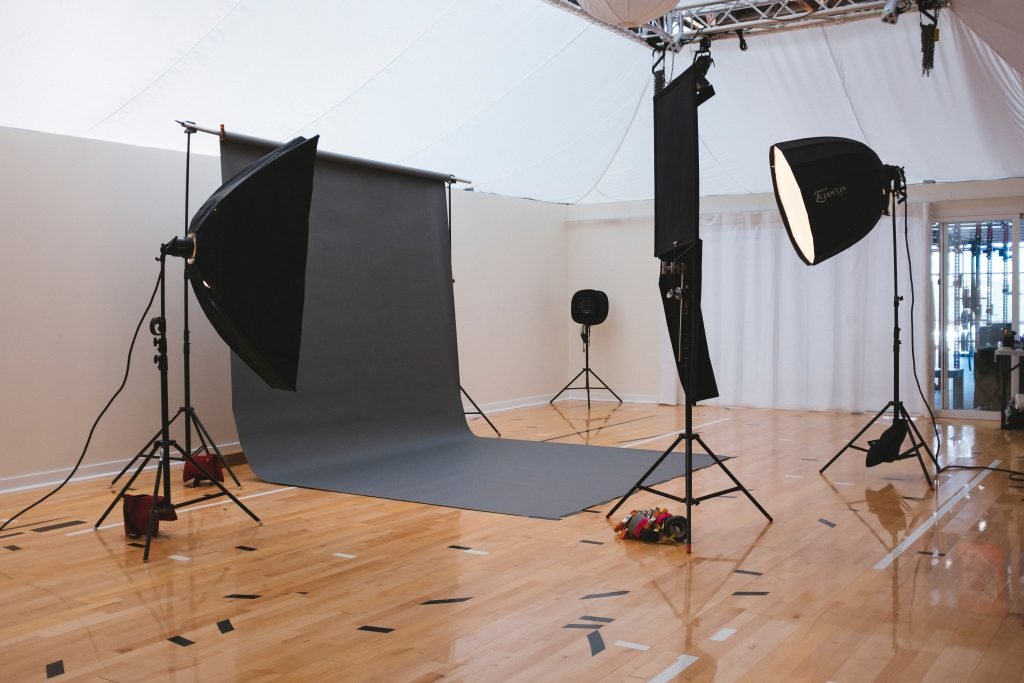
Our next addition is more like a studio kit. It would help if you had a few of these to make some beautiful photography as a burgeoning professional. A good LED light stand will let you position your light strobe away from the camera. The bracket will then allow you to mount a hot-shoe strobe and your umbrella to the light stand for the softest light possible. This is especially helpful for portrait photography. Many prefer umbrellas over softboxes for the quick and easy setup and takedown.
Of course, a lightbox may be right down your alley, too. When you add a wireless transceiver, you can use your strobe light remotely from a distance. Add in off-camera studio lighting for made lighting to fit your shooting situation.
Conclusion: Building a Basic Camera Kit for Photography
You don’t have to spend your whole life savings purchasing your basic camera kit for photography. You can start by buying the essentials and then adding on the bonus equipment overtime. For instance, you probably don’t need a light stand now, but maybe you will in the future? Or perhaps you want to explore outdoor photography a little more? Later, you can add on the light stand or variable ND filter. It’s up to you to pick and choose the right building blocks for your photography business or hobby.
Don’t forget to check out our handy reviews and guides to the essentials in photography. Cameras, lenses, and accessories that won’t break the bank and will get you going towards living your photography dream.


