Last updated on December 7th, 2023
Capturing birds in flight is a thrilling experience for any photographer. However, it is also one of the most challenging types of photography. Birds are fast-moving and unpredictable, making it difficult to get a perfect shot. But with the right gear and technique, you can capture stunning images of birds in motion.

In this article, we’ll provide you with tips and techniques on capturing birds in flight for photography. From understanding your gear and choosing the right location to master panning and focusing techniques, we’ll cover everything you need to know to take your bird photography to the next level.
So, whether you’re an amateur or a professional photographer, read on to learn how to capture birds in flight like a pro!

Understanding Your Gear
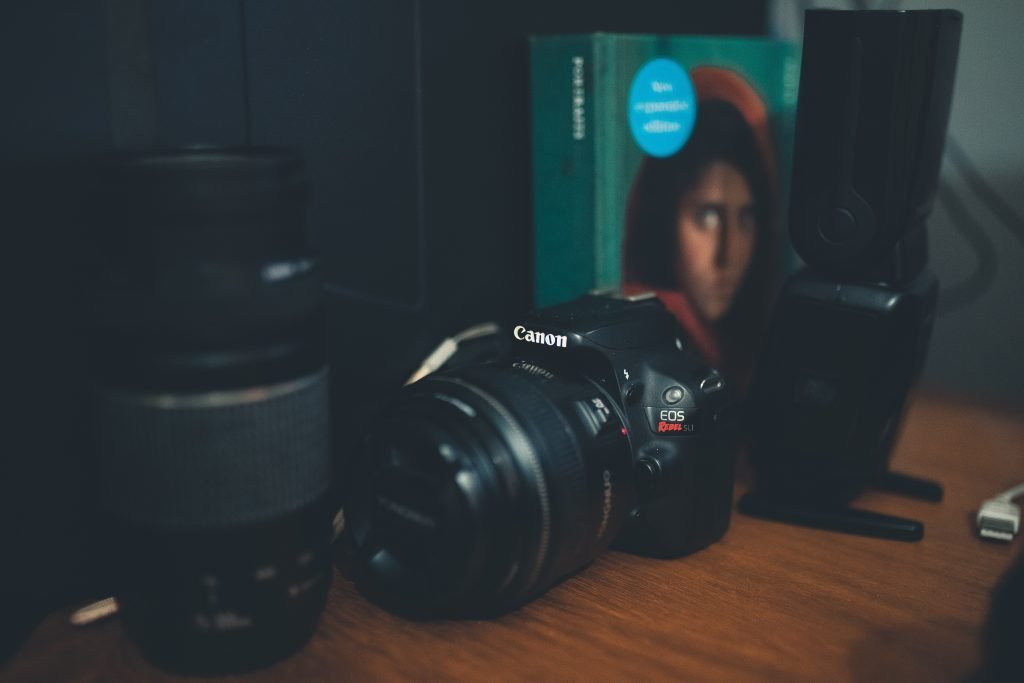
Before capturing birds in flight, you must understand the gear you need to achieve the best results. Here are some basic camera settings and equipment to keep in mind:
Camera Settings for Capturing Birds in Flight
To capture birds in flight, you must use a fast shutter speed to freeze their motion. A shutter speed of 1/1000 or faster is recommended. You’ll also need to adjust your aperture and ISO for the correct exposure.
Another important setting is the focus mode. You’ll want to use continuous autofocus (AF-C) or AI Servo mode to track and follow the birds as they move. It’s also a good idea to use burst mode or continuous shooting to capture multiple frames quickly.
Recommended Lenses for Bird Photography
The type of lens you use for bird photography will depend on the size and distance of the birds you’re capturing. A telephoto lens is recommended for capturing birds in flight, as it lets you get up close and personal without disturbing them. A 300mm or 400mm lens is a good starting point, but a 500mm or 600mm lens may be more suitable if you’re looking to capture birds from a distance.
Importance of Choosing the Right Shutter Speed, Aperture, and ISO Settings
The right combination of shutter speed, aperture, and ISO is crucial for achieving the best results in bird photography. A fast shutter speed allows you to freeze the motion of the birds, while the correct aperture setting can create a shallow depth of field and blur the background. A high ISO can help you achieve the proper exposure in low-light conditions, but be careful not to use too high an ISO, which can result in a noisy or grainy image.

Location and Timing
Choosing the right location and timing is as important as having the right gear. Here are some things to consider:
Choosing the Right Location for Bird Photography
The best locations for bird photography are those where birds are known to frequent. Parks, nature reserves, and wetlands are great places to start. You can also try setting up a bird feeder in your backyard to attract birds.
When scouting for locations, it’s essential to consider the background and lighting. A cluttered or distracting background can take away from the focus on the bird, while good lighting can enhance the colors and details of the bird’s plumage.
The Best Time of Day for Capturing Birds in Flight
The best time of day for capturing birds in flight is early morning or late afternoon. This is when the light is soft and warm, creating a beautiful glow on the birds. The golden hour, the hour before sunset or after sunrise, is particularly great for bird photography.
Understanding Bird Behavior and Migration Patterns
Understanding bird behavior and migration patterns can also help you capture birds in flight more effectively. Knowing where birds are likely to fly and perch can help you set up your gear correctly. Studying bird behavior can also help you anticipate their movements and capture them in action.
Technique
To capture birds in flight, you need to have the correct technique. Here are some tips on how to master the art of capturing birds in motion:
Techniques for Tracking and Following Birds
Tracking and following birds is crucial for capturing them in flight. You can use the following techniques to help you track and follow birds:
- Keep both eyes open: This will help you see the bird in your peripheral vision while tracking it through your camera lens.
- Follow the bird’s movements: Use your camera’s continuous autofocus mode to track its movement as it flies.
- Keep your camera steady: Use a tripod or monopod to keep your camera steady as you track the bird.
Panning and Focusing Techniques for Capturing Birds in Motion
Panning and focusing techniques can help you capture birds in motion with a sharp focus. Here’s how:
- Use a wide aperture: A wide aperture (such as f/4 or f/5.6) can help you achieve a shallow depth of field, blurring the background and making the bird stand out.
- Pan with the bird: Move your camera horizontally along with the bird as it flies to create a motion blur in the background.
- Use back-button focus: Assign focus to a separate button on the back of your camera to enable quick and accurate focusing without changing your composition.
Composition and Framing for Bird Photography
Composition and framing are essential for creating visually appealing bird photography. Here are some tips:
- Use the rule of thirds: Place the bird off-center to create a more interesting composition.
- Include some negative space: Leave space around the bird to give it a sense of movement and freedom.
- Get creative with angles: Experiment with different angles, such as shooting from below or above, to add a unique perspective to your shots.

Post-Processing
Post-processing can help you enhance your bird photography and take it to the next level. Here are some tips on how to post-process your images:
Basic Post-Processing Techniques for Bird Photography
Basic post-processing techniques can help you adjust your bird photography’s exposure, color, and contrast. Here are some basic adjustments you can make:
- Adjust exposure: Use the exposure slider to adjust the brightness and darkness of your image.
- Adjust color balance: Use the color balance sliders to adjust the overall color temperature of your image.
- Adjust contrast: Use the contrast slider to adjust the overall contrast of your image.
Using Editing Software to Enhance Your Images
Editing software such as Adobe Photoshop or Lightroom can help you enhance your images further. Here are some advanced techniques you can use:
- Sharpening: Use the sharpening tool to enhance the details in your image, making the feathers and other features of the bird stand out.
- Noise reduction: Use the noise reduction tool to reduce the amount of digital noise or graininess in your image.
- Cropping: Use the cropping tool to adjust the framing and composition of your image.
Tips for Maintaining the Natural Look of the Image
While post-processing can enhance your images, it’s essential to maintain the natural look of the image. Here are some tips:
- Don’t overdo it: Avoid making excessive adjustments that make your image look unnatural.
- Avoid oversaturating the colors: Keep the colors of your image natural-looking and avoid oversaturating them.
- Don’t obliterate the background: Keep some of the backgrounds visible to maintain the context and environment of the bird.
Conclusion: Capturing Birds on Camera
Capturing birds in flight can be a challenging but rewarding experience for any photographer. You can capture stunning images of birds in motion with the right gear, location, timing, technique, and post-processing.
Remember to use a fast shutter speed, continuous autofocus, and burst mode to track and follow the birds as they fly. Use panning and focusing techniques to capture them in motion with a sharp focus. Experiment with different angles and compositions to add a unique perspective to your shots.
And when it comes to post-processing, remember to maintain the natural look of the image and avoid making excessive adjustments.
So, whether you’re a beginner or an experienced photographer, practice, and experiment with different techniques to capture birds in flight like a pro; with patience and perseverance, you’ll be able to capture the perfect shot of birds in motion. Happy shooting!


